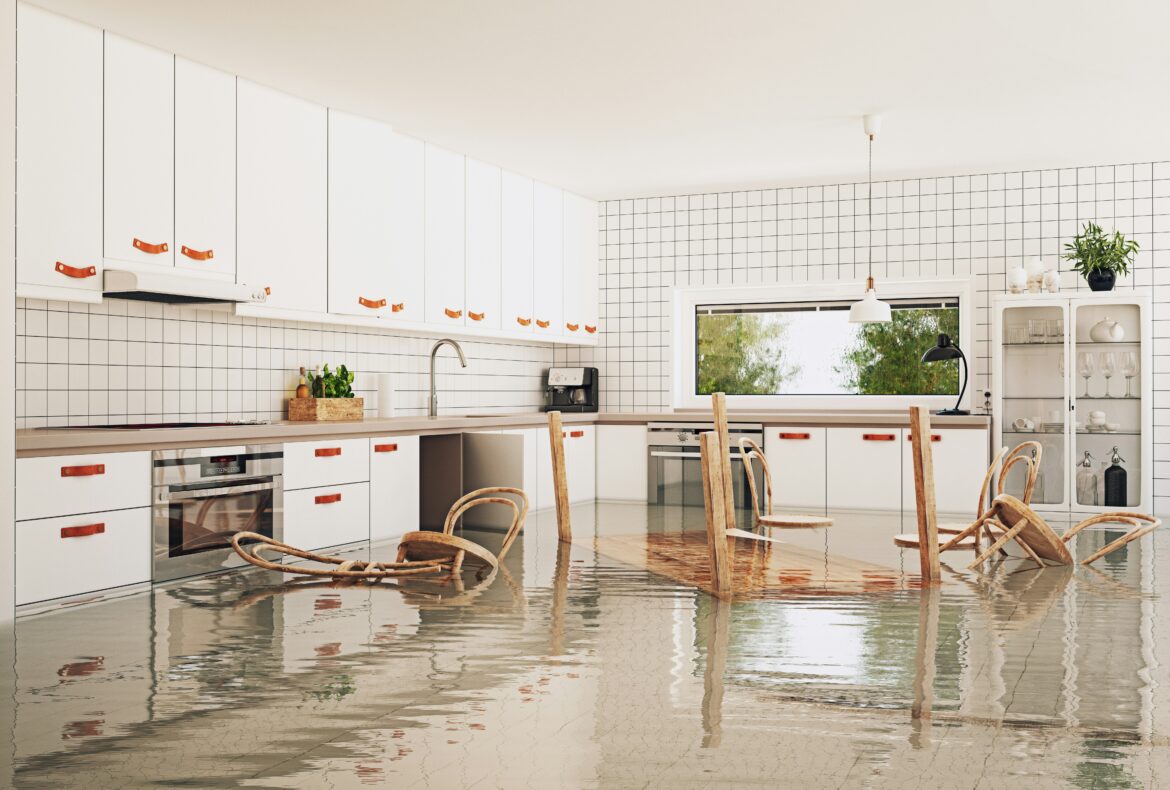
How to Handle a Major Pipe Burst: A Comprehensive Guide to Minimizing Structural Water Damage
When a pipe bursts, the first thing you need to do is turn off the water supply. The valve to cut off your home’s water is often found in the basement or outside your home. If you’ve got a burst happening, you don’t have time to hunt. It’s taken us anywhere from 10 minutes to an hour to locate the main water valve in a customer’s home. We shouldn’t have to tell you which of those scenarios makes sense.
The First Five Minutes: Shut the Water Off
First and foremost, locate the primary water shut-off valve and shut it. If you can’t do that right now, that’s the primary thing to address. In the majority of single-family homes, it’s where the main supply line first enters the building – usually in a basement, utility closet, or crawl space. In apartments and older urban buildings, it may be behind an access panel in a bathroom or kitchen wall.
This is the only step that will actually prevent more water from entering the system and for every second that valve remains open, more water is seeping into your drywall, subfloor, and wall cavities.
For properties where the shut-off is at the curb rather than inside the home, you’ll need a meter key – a T-shaped implement that fits into the valve casing at the street. They’re under ten bucks and you should already have one. If you don’t, procure one this week for your emergency kit.
With the water off, don’t do anything else.
When to Call Professionals – and Why Hidden Moisture Matters
Here’s the threshold: if you can’t immediately and unequivocally identify all the sources of water that flooded your space, or if you have any Category 2 or Category 3 contamination, sustained saturation in walls or ceiling, or the burst happened while you were away – call a professional restoration company.
Water travels in ways you can’t see. Hydrostatic pressure pushes water into floor assemblies, under baseboards, and into wall cavities. A surface that looks dry to the touch can have moisture readings three to four times the safe threshold when measured with a professional moisture meter. Thermal imaging cameras reveal wet areas behind finished walls that would never be visible otherwise.
Homeowners who skip professional moisture detection often think the job is done after visible water is gone. Weeks later, they find warped subflooring, rusted fasteners, rotting studs, or mold colonies growing inside a wall cavity. Those repairs cost significantly more than proper initial drying would have.
For properties in older urban buildings, where plumbing runs through shared walls, original wood framing, and dense insulation assemblies, this is especially true. A Restoration service company in NYC that works with IICRC-certified technicians will bring commercial-grade dehumidifiers and air movers that operate at a fundamentally different level than household equipment – and they’ll monitor humidity readings daily until structural materials reach safe levels.
Address the Electrical Hazard Before You Wade in
Standing water and live electricity are a dangerous mix. Before you walk into any flooded room, cut power to all circuits that may be affected. If the electrical panel is in the flooded area itself, call an electrician before you do anything else. Don’t guess.
Water conducts electricity no matter how shallow. A half-inch of water across a kitchen floor is enough to kill someone if a cord or outlet is energized. This step is not optional, and it’s not overcautious.
Once you’re certain power is off to the affected zones, you can move in to evaluate.
Identify What Kind of Water You’re Dealing With
There are different types of water, and each one requires a specific response.
Clean water (category 1) comes from a supply line, water heater, or appliance. It hasn’t been contaminated. You can sometimes handle small, isolated category 1 events if you get to them within minutes. Depending on the size, you might be able to clean it up with a wet-dry vacuum and fans.
Gray water (category 2) contains cleaning agents, dirt, or light biological material. An example is the overflow from a washing machine. You should approach this water with caution, and a professional usually handles it.
Black water (category 3) is sewage, toilet overflow, or water that is or has been in a drain line. A waste pipe is also considered black water. It’s a biohazard, and you shouldn’t touch it or try to clean it up yourself. The pathogens in sewage are nothing to mess around with, causing everything from gastro issues to Weil’s disease. Standard household disinfectants aren’t enough to kill all the microbes.
In older buildings, specifically the pre-war tenement-era stock that dense cities have in abundance, the two most common points of failure are the galvanized pipe and cast iron waste line. Neither of these failures behaves like a clean supply line failure, and both require an entirely different type of response.
The First 30 Minutes: Document Before You Touch Anything
Once you’ve turned off the water and ensured the electricals are safe, do not rush to start cleaning up. Instead, take five minutes and document everything first.
Take photos of all the surfaces that have been impacted from different corners of the room. Use your phone to video the room, commenting on what’s been affected and what you can see. Zoom in and take close shots of where water is coming in, where it’s pooled, and what is saturated. If you have noticed water rising on a particular surface or seeping into paint, take photos of the obscured area and note that this was caused by the water.
These images and your written description are your insurance claim. Many homeowners’ policies cover sudden pipe leaks, for example, but don’t cover slow leaks that could have been noticed and stopped ahead of time. They don’t cover flooding, water that crossed the ground and entered your home. The category rules can make a big difference in what an adjuster will write a check for.
The First 24 Hours: Extract Water and Start Drying Immediately
Drywall becomes saturated and starts wicking up water within minutes of exposure. Porous materials such as drywall, wood framing, and insulation absorb water at different rates, but all of them begin to degrade as soon as they become wet. The time you have to save materials rather than replace them is pinpointed to a matter of hours.
Do what you need to do to get more ambient water out of your house than the house is soaking in. Use your wet/dry vacuum to suck water out of the structure through the surface that’s most accepting. Hard floorings? Get as much water out of them as you can. Stand on them and vacuum. Pull up saturated rugs and carpet – they hold enormous volumes of water and will prevent the subfloor underneath from drying if left in place. Then run every fan you have and open windows if outdoor conditions allow.
The single most important fact to carry with you through this entire event: mold can begin to grow on wet materials within 24 to 48 hours of water exposure. That 24-hour window is not a guideline. It’s the point at which a water damage problem becomes a water damage and mold problem. Everything you do in the first day is a race against that threshold.
Drying is a Process, Not a Single Event
This is where most homeowners underestimate the job. Running a box fan for a day and calling it done is how water damage becomes a long-term structural problem.
Airflow alone cannot dry wall cavities. Moisture trapped behind drywall and inside insulation has to be extracted by dehumidifiers that pull water vapor from the air and lower the ambient relative humidity of the space. That process takes days – sometimes a week or more depending on the materials involved and the volume of saturation.
Humidity readings should be checked multiple times per day throughout the drying phase. The target for structural materials is typically below 16% moisture content – but the specific benchmark depends on the material. Professionals use calibrated meters to verify this. Homeowners can buy basic models for under forty dollars, and it’s worth doing even if you’ve already brought in a restoration team, because you want to see the numbers moving in the right direction.
Drywall that stays above safe moisture levels for more than a few days needs to come out. It won’t dry in place if the cavity behind it is still wet. Insulation that’s been saturated almost always needs to be replaced entirely – it compresses, loses its thermal value, and holds moisture long after surrounding materials have dried.
Don’t close the space back up, replace flooring, or repaint until readings have been stable for at least two consecutive days.
Reducing the Risk Before the Next Cold Snap
Water pipes typically burst in cold weather due to the fact that water expands as it freezes, creating pressure within the pipe that the walls – whether copper, PEX, or galvanized steel – cannot contain. The most high-risk locations are supply lines running through exterior walls, unheated crawl spaces, and garages.
Insulating exposed runs with foam pipe insulation is inexpensive and removes most of the threat of freezing. Meanwhile, maintaining indoor heat above a minimum threshold during cold snaps protects pipes in exterior walls that are counting on the adjacent room’s heat to maintain their temperature above freezing.
Whole-home water leak detection systems have become very affordable. Many homeowners can now get sensors that monitor flow rate and automatically shut off the main valve when they detect a problem. Premium reductions on homeowner’s insurance are also offered by some carriers for those equipped with them.
A water pressure regulator that is properly adjusted extends the life of fittings and joints. Older and unprotected pipes are probably your weakest link, and the closer you stick to 60 and 80 PSI the better. Below that, your showers might be disappointing, but above that, you start damaging piping and fittings as a general rule.
None of these measures are a 100 percent solution, but the vast majority of pipe bursts in homes that have taken precautions are more of an inconvenience than a catastrophe. The water gets shut off within minutes, and even if some drywall must be replaced, little more than every towel you own might get wet in the process.
The difference between a manageable incident and a structural catastrophe is almost always speed – speed of shut-off, speed of extraction, and speed of professional assessment when the situation exceeds what household tools and effort can handle.